If you have a special requirement, if you want a game or a custom design, if the required dimensions are larger than the ones presented, if a game with another theme is not found in the brochure or on our website, please inform us and we will design according to your requests.
Promote your business in a creative way! Attract your customers with Playform®. We can transpose the image of your product or firm into a visible and of impact logo.
We offer you support and provide you with all the necessary information regarding the characteristics of the product, the steps to be taken in order to complete the Playform project.
At the same time, depending on the age groups of the children, we can suggest you a selection of games from our portfolio, with over 200 games.
We invest constantly in research and technology, in order to have modern and flexible manufacturing facilities. That’s why we can offer in a short delivery time customized products to a high quality standard.
The best surface, recommended by the manufacturer, for the installation of the games is asphalt. To be avoided cracks, holes, abrasive surfaces and incompatible paints. Also, the surface should not contain oil stains and other chemicals.
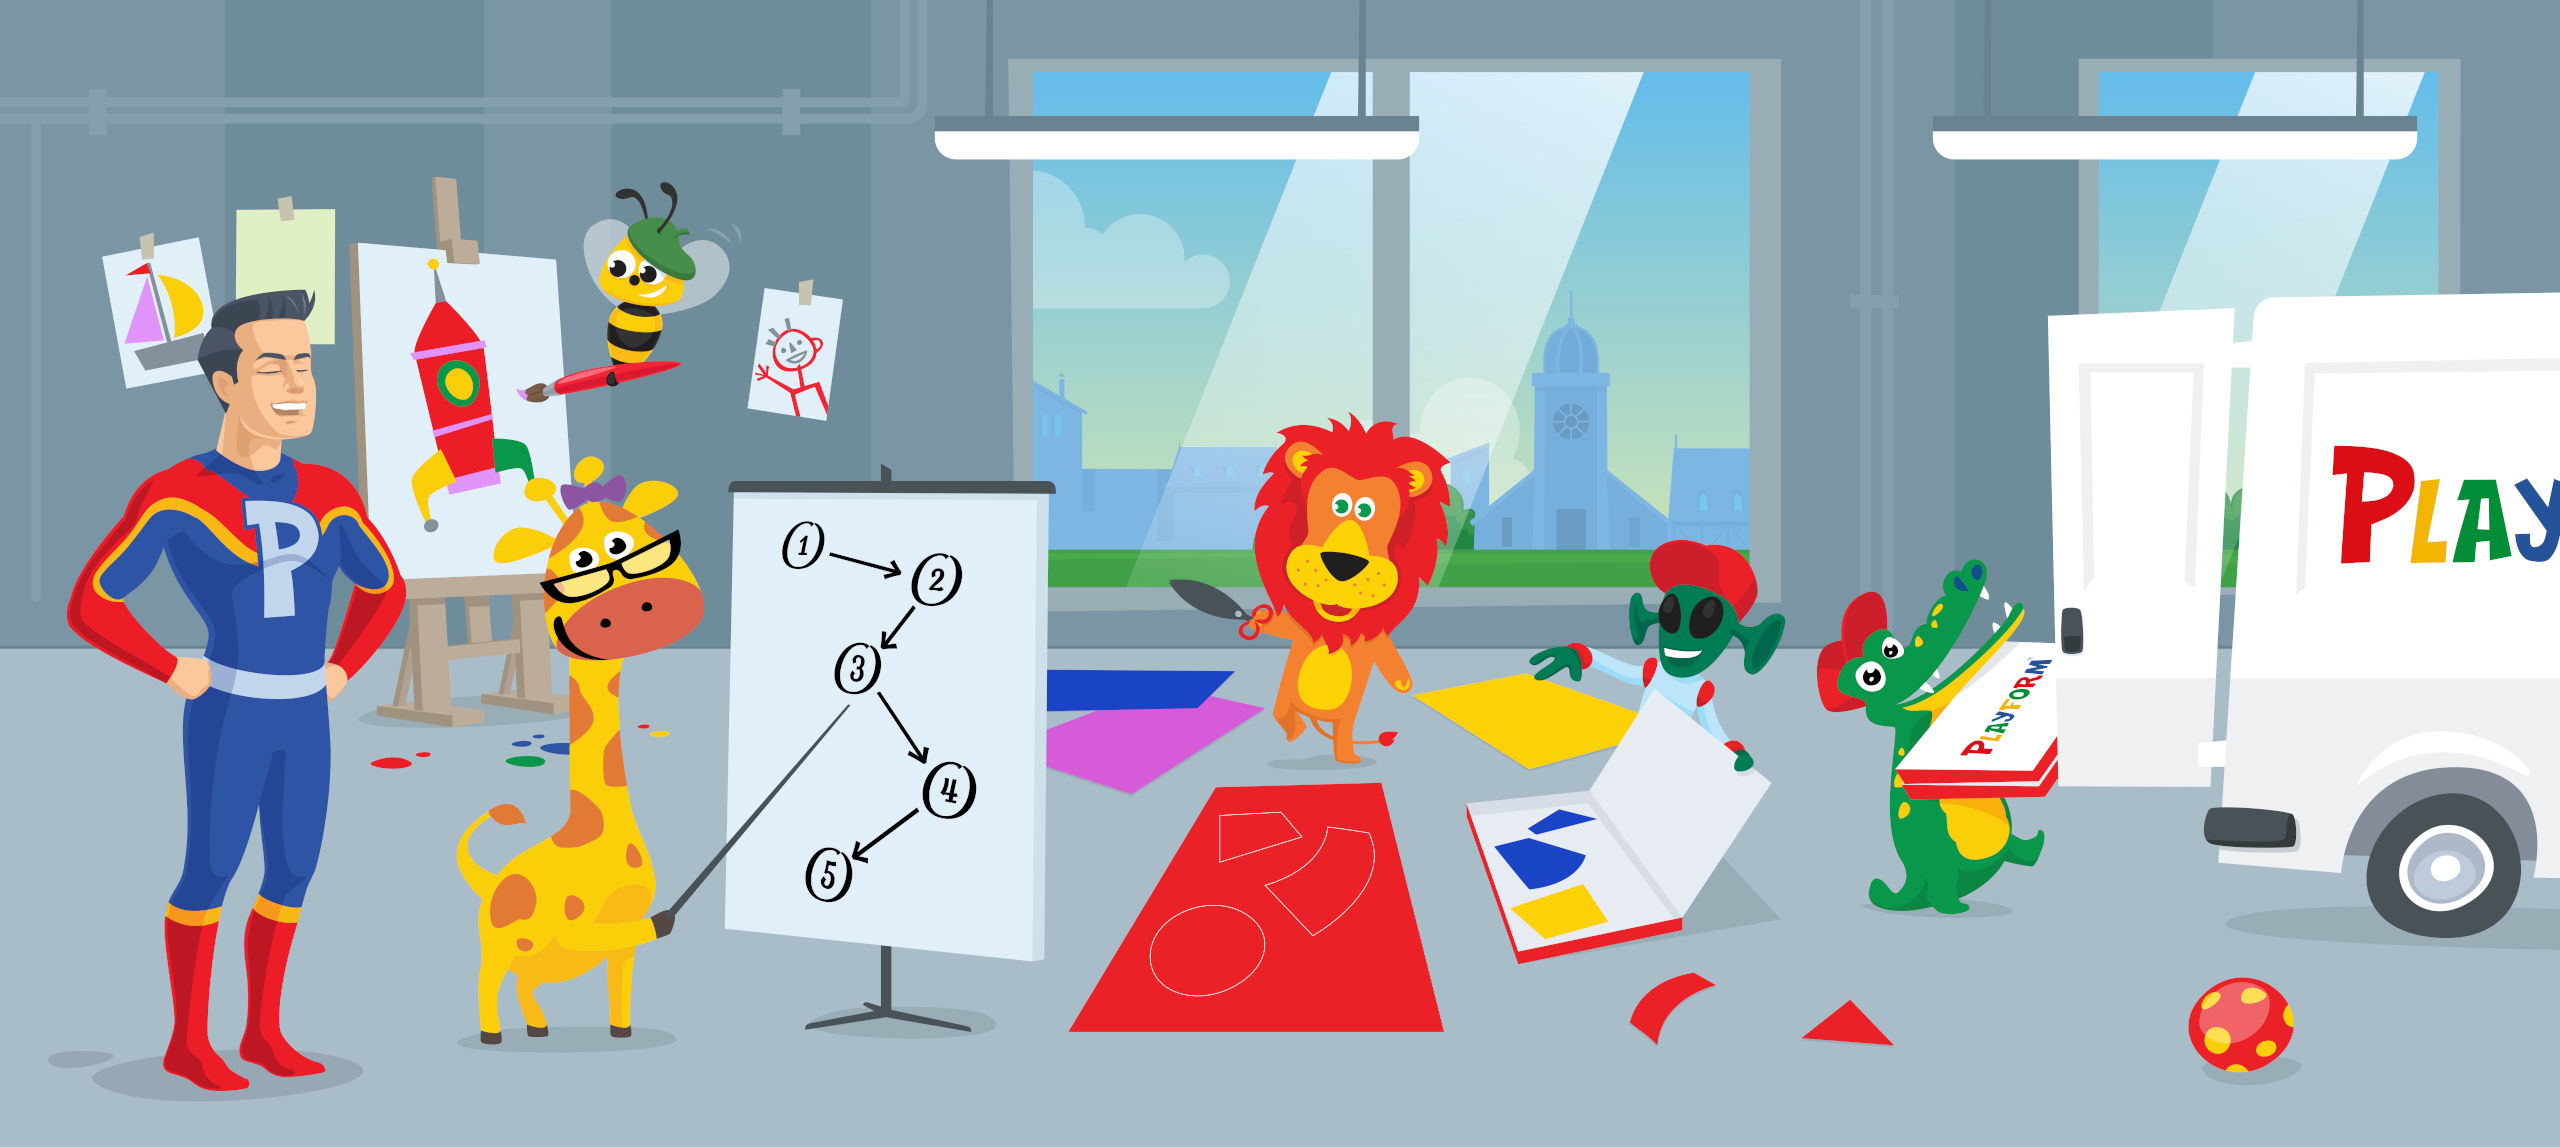
STEP 1 – The targeted space for the application of the symbol must be cleaned. Dust, sand, pebbles, leaves and other impurities should be removed using the wire brush and hand blower.
STEP 2 – After cleaning, the asphalt surface will be heated to remove moisture.
STEP 3 – The symbol must be assembled into pieces, like a puzzle, using the given sketch. Afterwards, the symbol is outlined using a chalk.
STEP 4 – Apply evenly the primer recommended by the manufacturer only inside the contoured surface.
STEP 5 – The parts of the symbol will be assembled according to the instructions provided by the manufacturer, then the material will be uniformly heated throughout the surface and in depth until it melts and adheres to the surface of the support. For proper adhesion, the melten material must reach a temperature of 200 – 220 ° C, a temperature that can be verified using an infrared thermometer.
STEP 6 – Immediately after melting, sprinkle the antiskid granulates on the entire surface of the symbol.
Stay calm, the application is done by our experienced teams.
You just have to keep your energy for playing.

